Compression Therapy
- supports venous return of blood from the limbs, accelerates blood flow in veins (compression causes pressure on the wall of the superficial and deep veins), narrows extended veins, improves the functioning of the venous valves, and prevents blood stagnation
- used as a preventive, therapeutic and supportive method
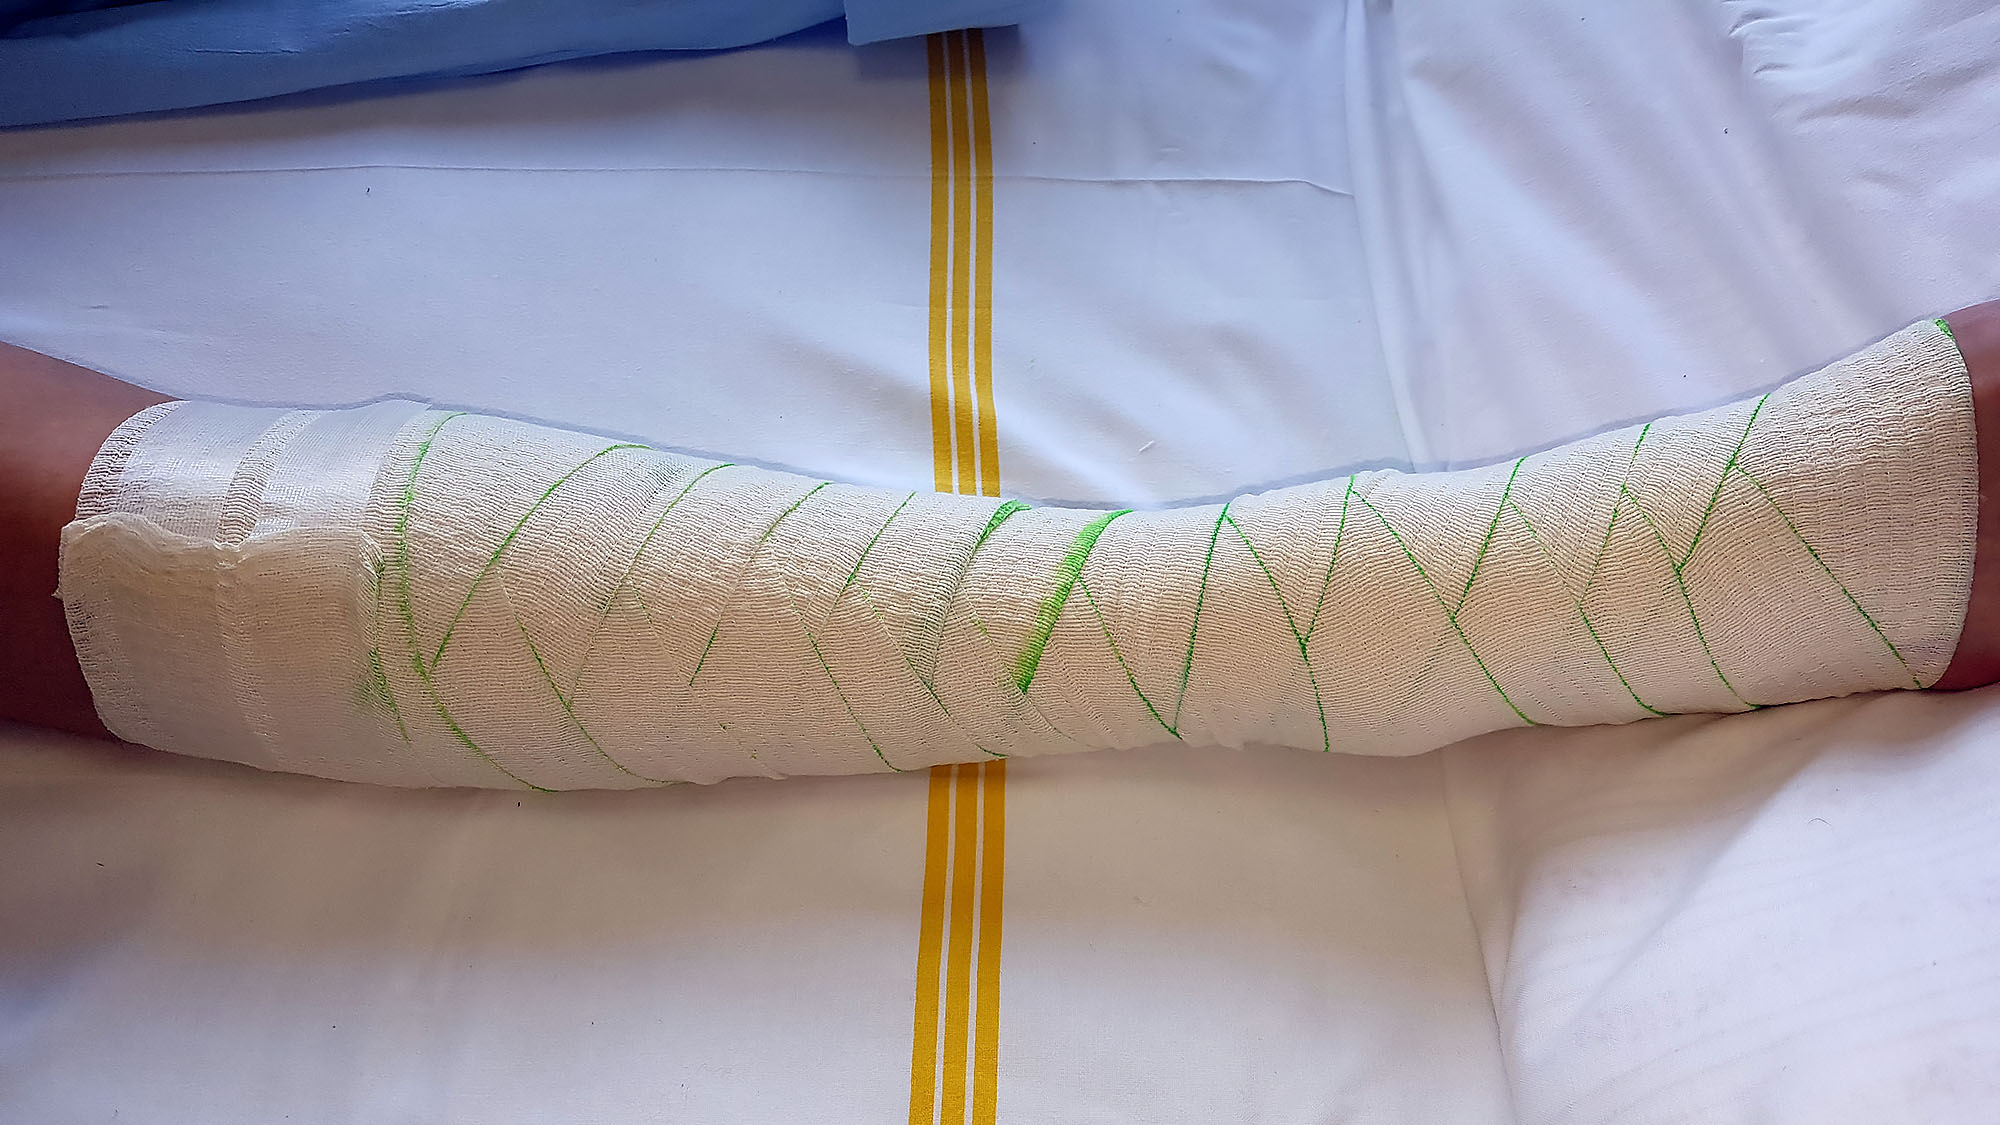
- performed using an elastic bandage, along with compression roller bandages and compression stockings
Purpose
- prevention of thromboembolic disease (before and after surgery, in patients with long-term immobility)
- prevention of oedema and varices (varicose veins)
- thrombosis and post-thrombotic syndrome therapy (post-thrombotic syndrome = a set of symptoms and changes resulting from deep venous thrombosis)
- treatment of venous leg ulcer
- supportive treatment of chronic venous insufficiency and lymphedema
- supportive treatment of diseases of the musculoskeletal system
- after varices surgery, after sclerotherapy (an invasive procedure that treats varicose veins), and after liposuction (cosmetic procedure for removing fat)
Equipment
- rigid zinc-glue bandages with the highest working and the lowest resting pressure
- short-stretch roller bandages: slightly extendable, with high working and low resting pressure
- long-stretch roller bandages: highly extendable, with low working and high resting pressure
- compression stockings
- multilayer bandages
| ELASTIC/COMPRESSION BANDAGES | COMPRESSION STOCKINGS |
| Advantages | |
|
|
| Disadvantages | |
|
|
Principles
- select a compression aid (bandage, stockings) with regard to the purpose (prevention, treatment, supportive treatment), the state of the disease (acute/chronic phase), and the ability of the individual to use the aid
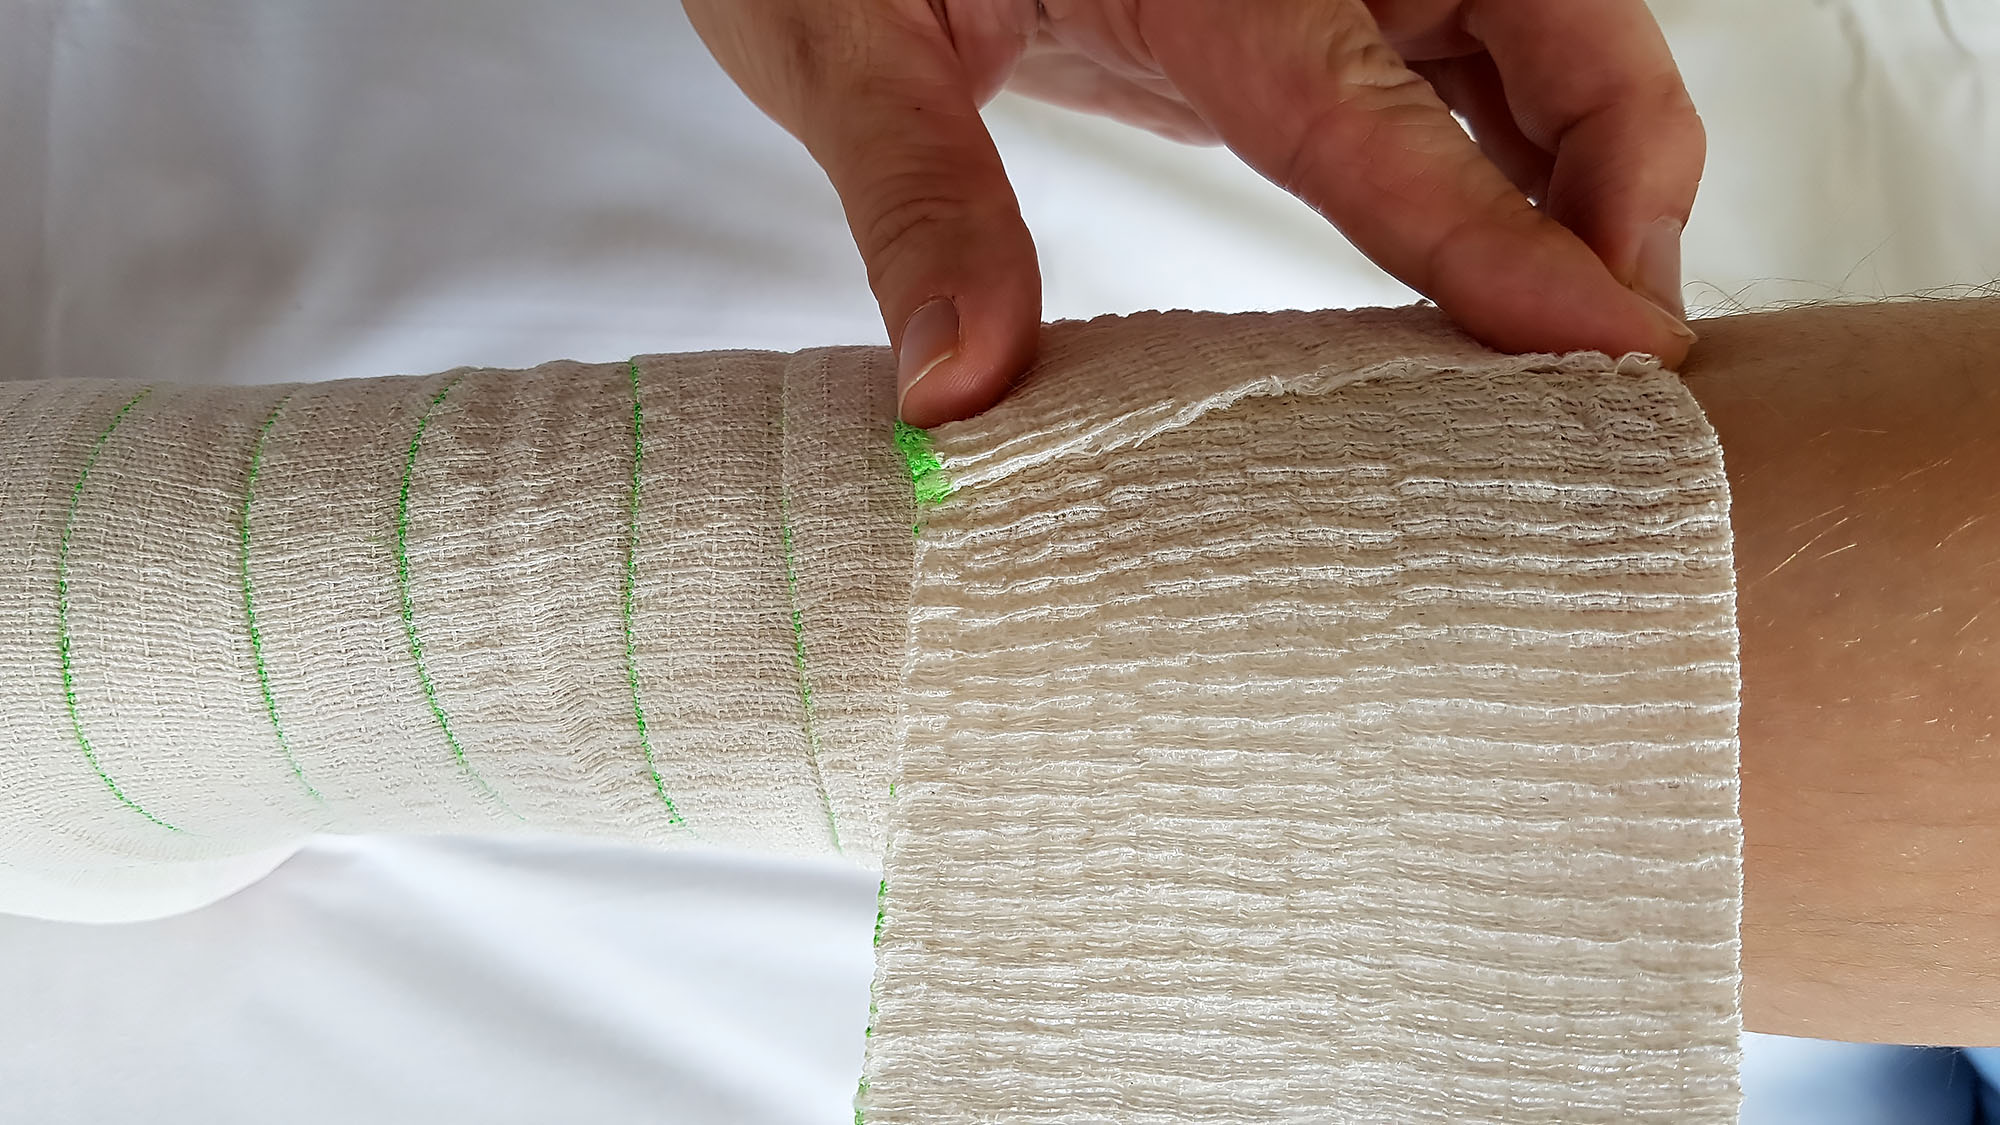
- select functional (unused) material
- select the correct width of the bandage and the size of the stocking (the larger the bandaged part of the body, the wider the bandage and the larger the stocking needed)
- apply the compression before getting up from bed (before lowering legs)
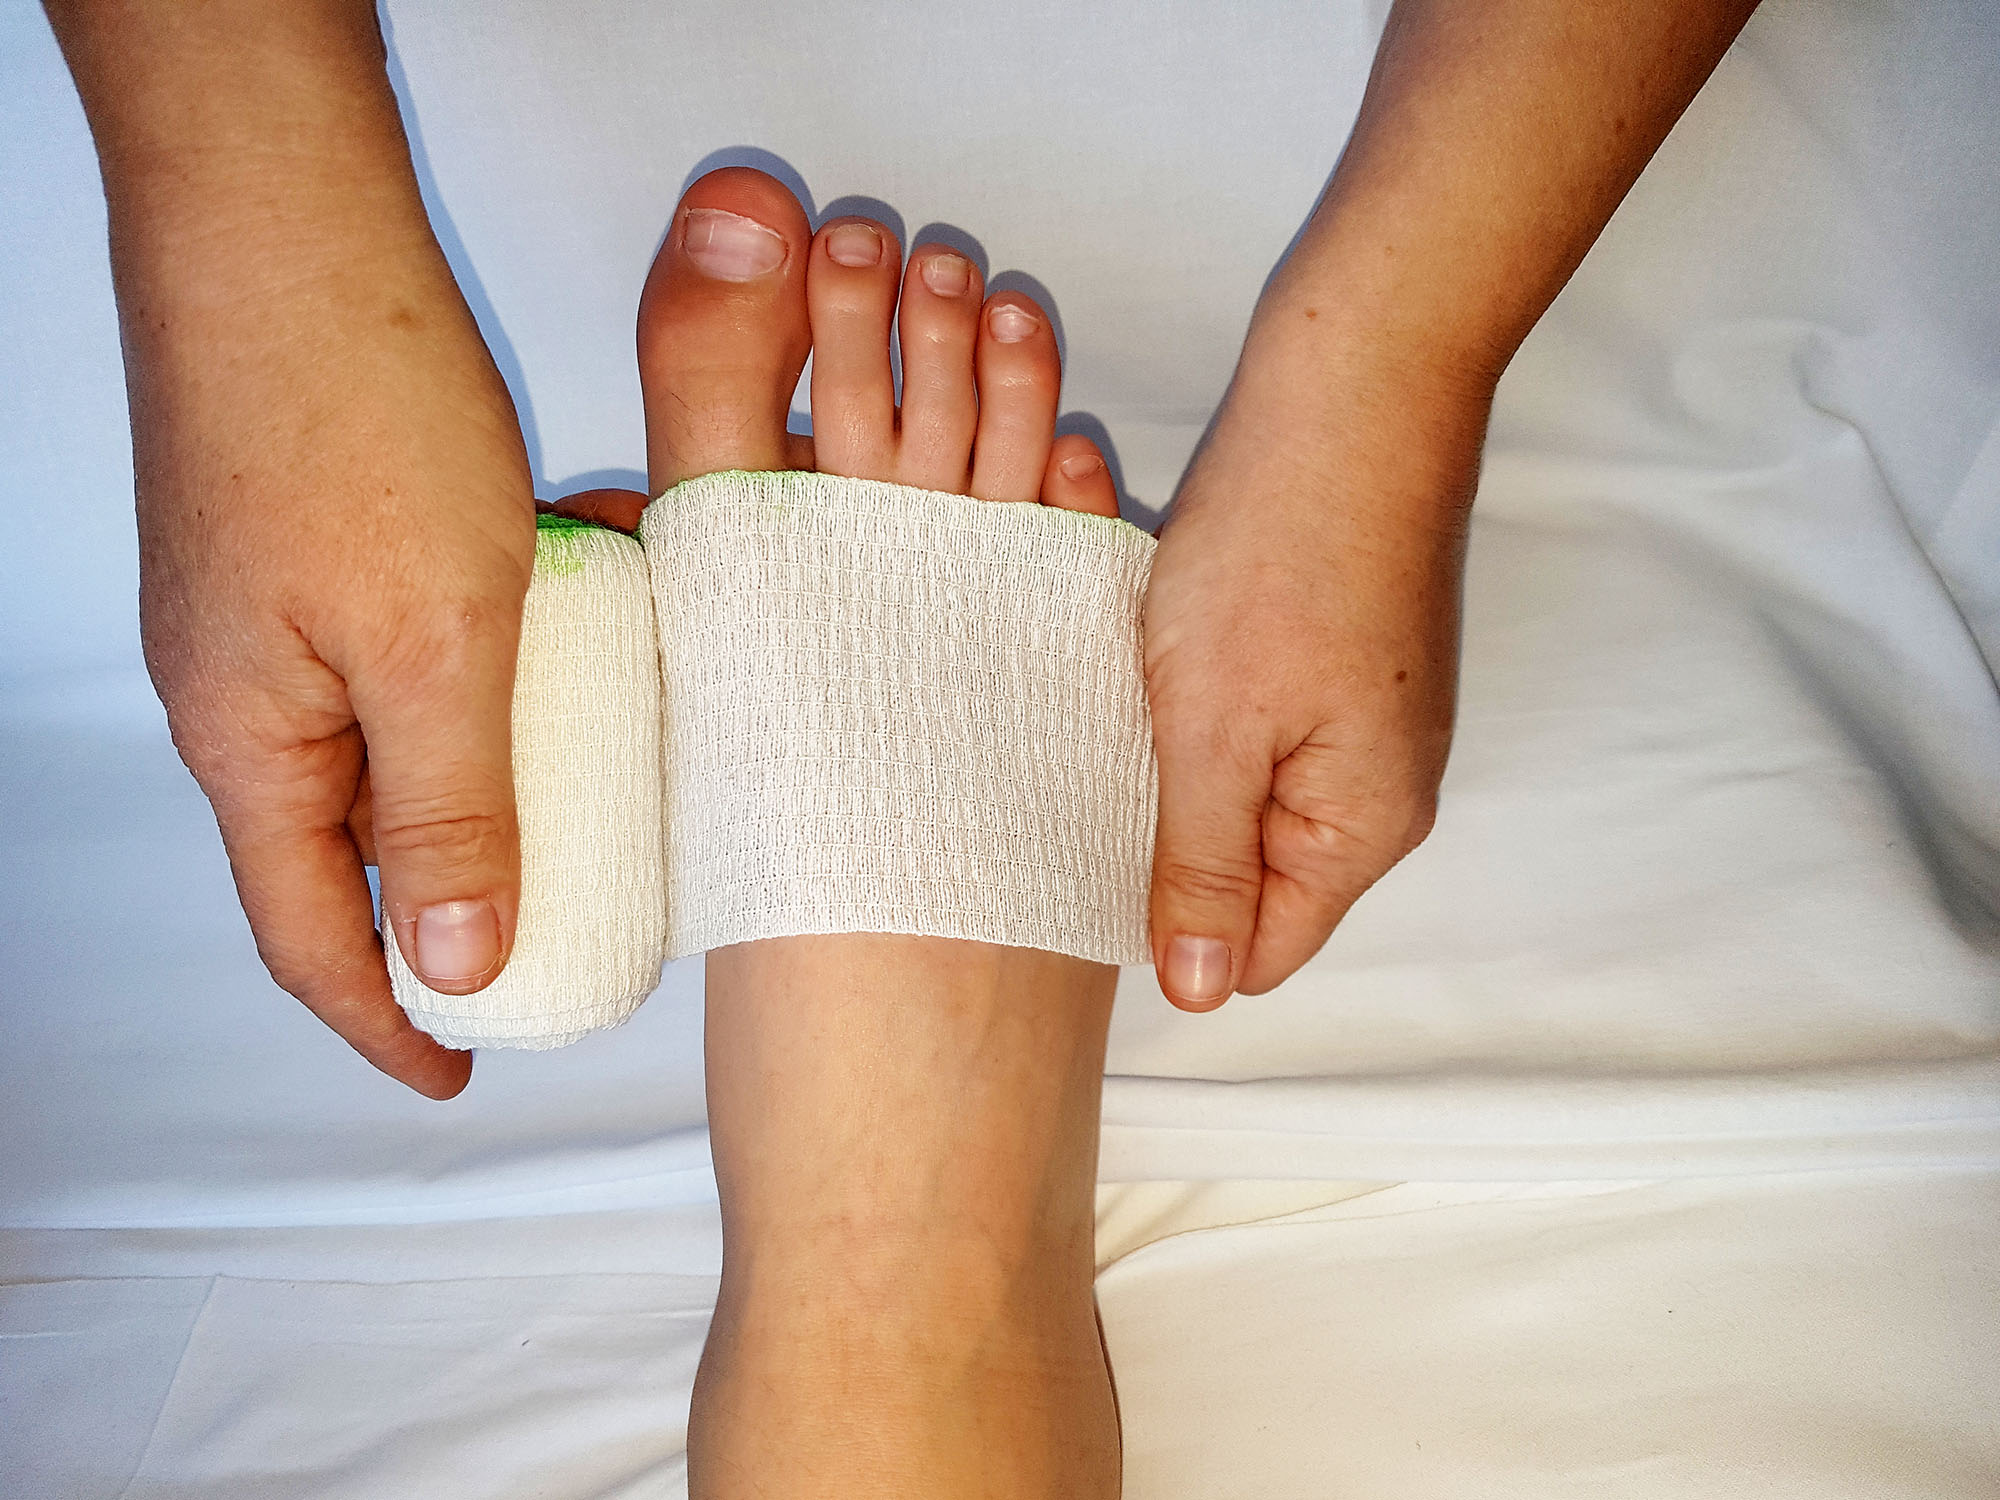
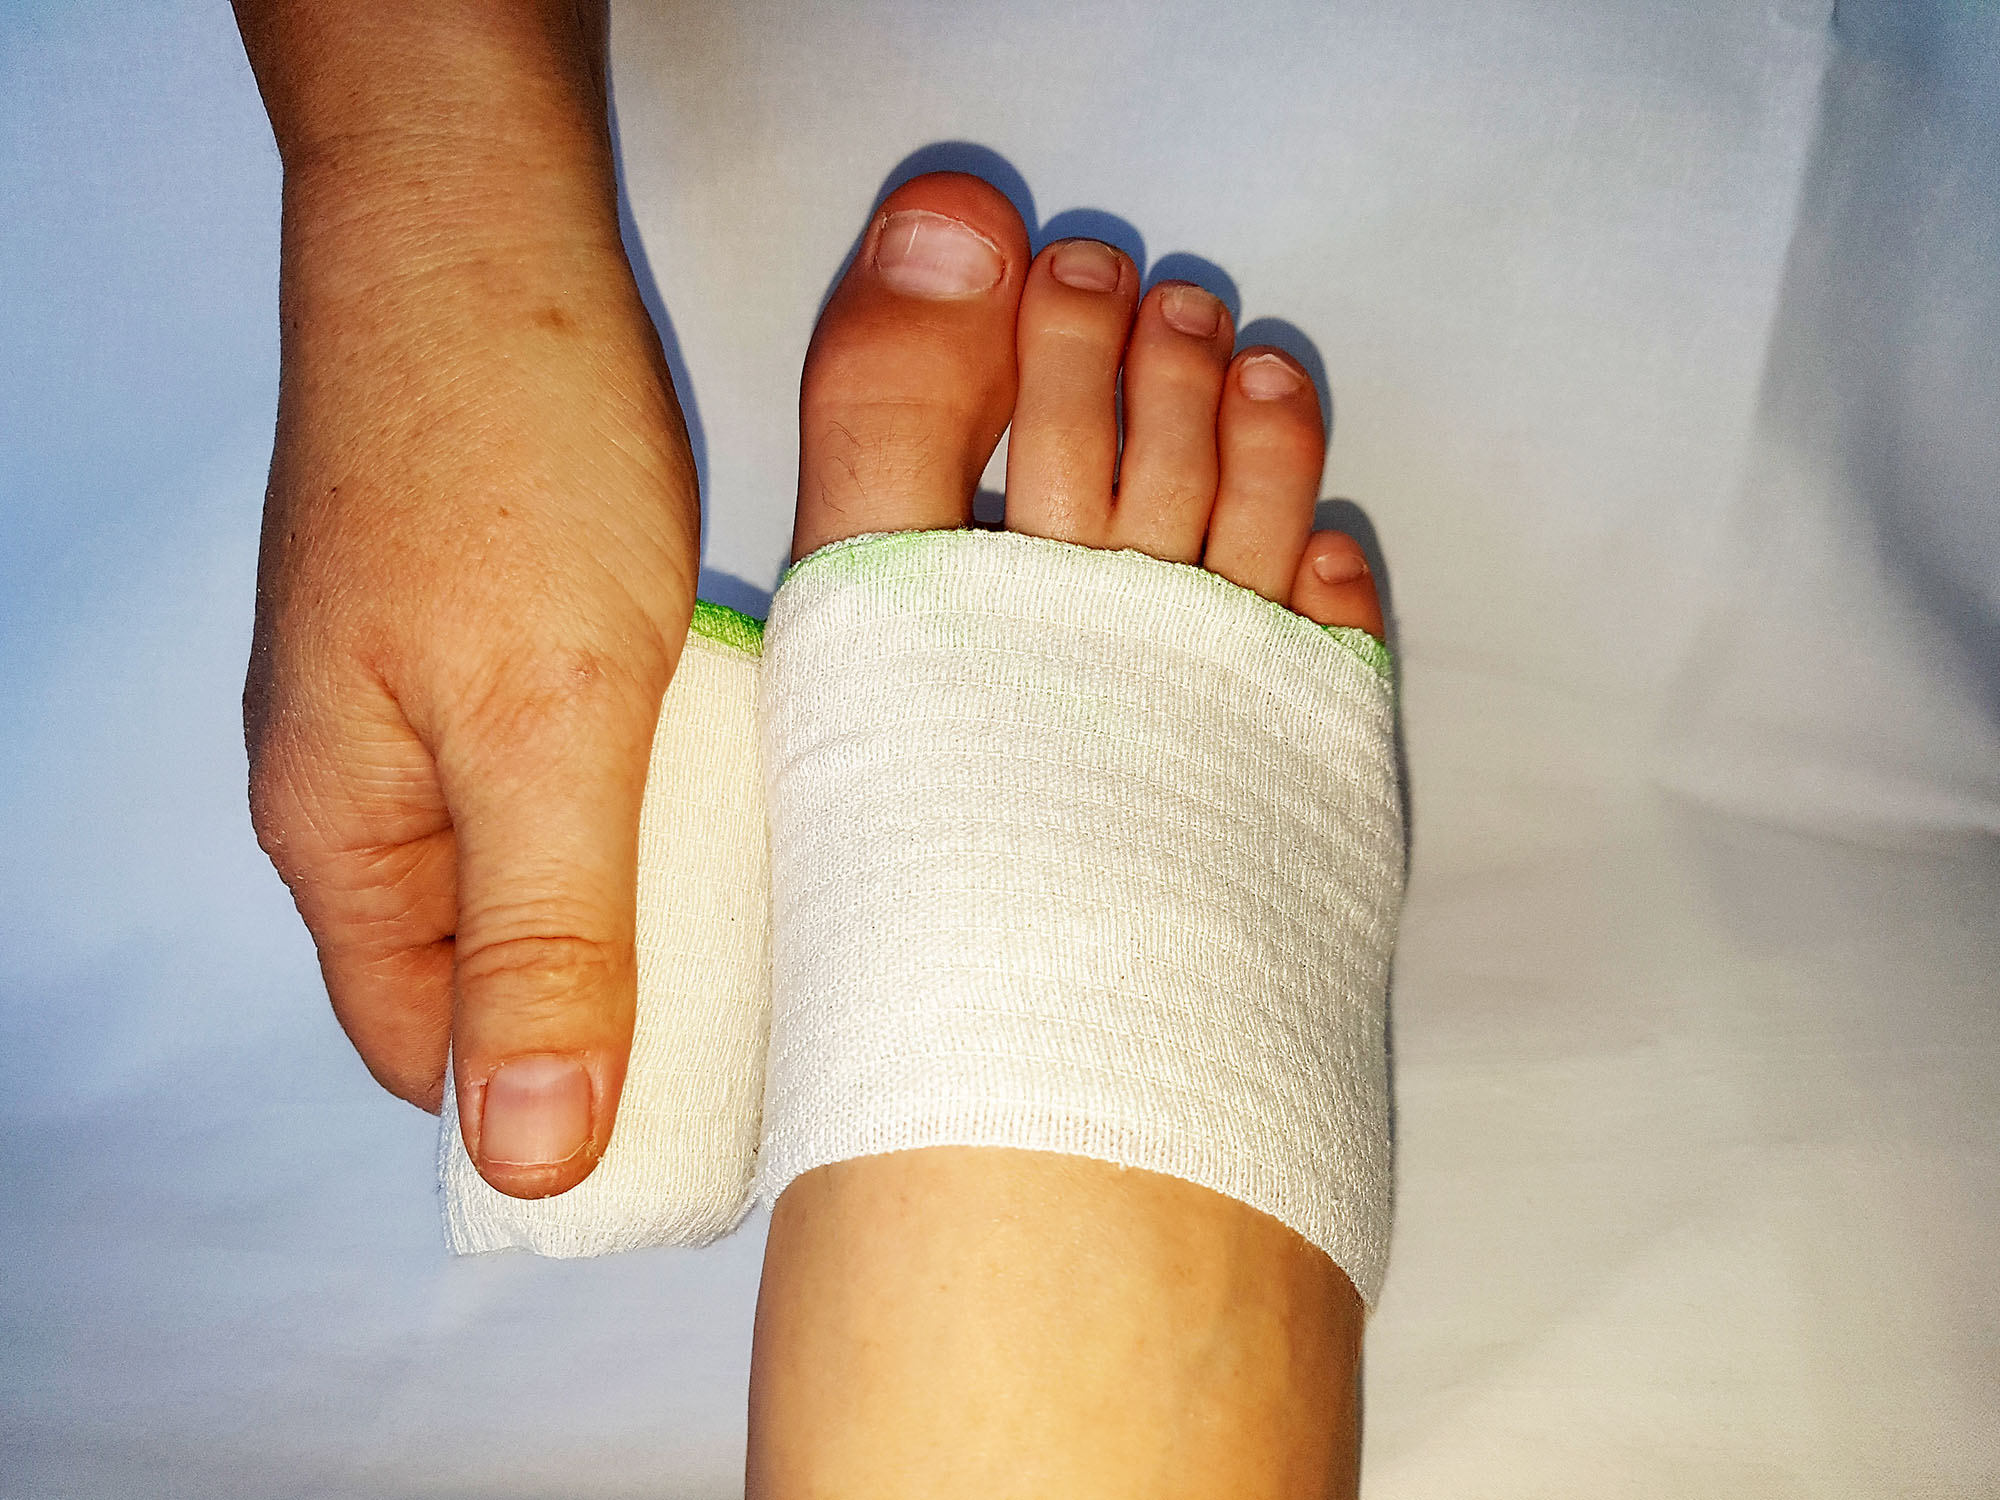
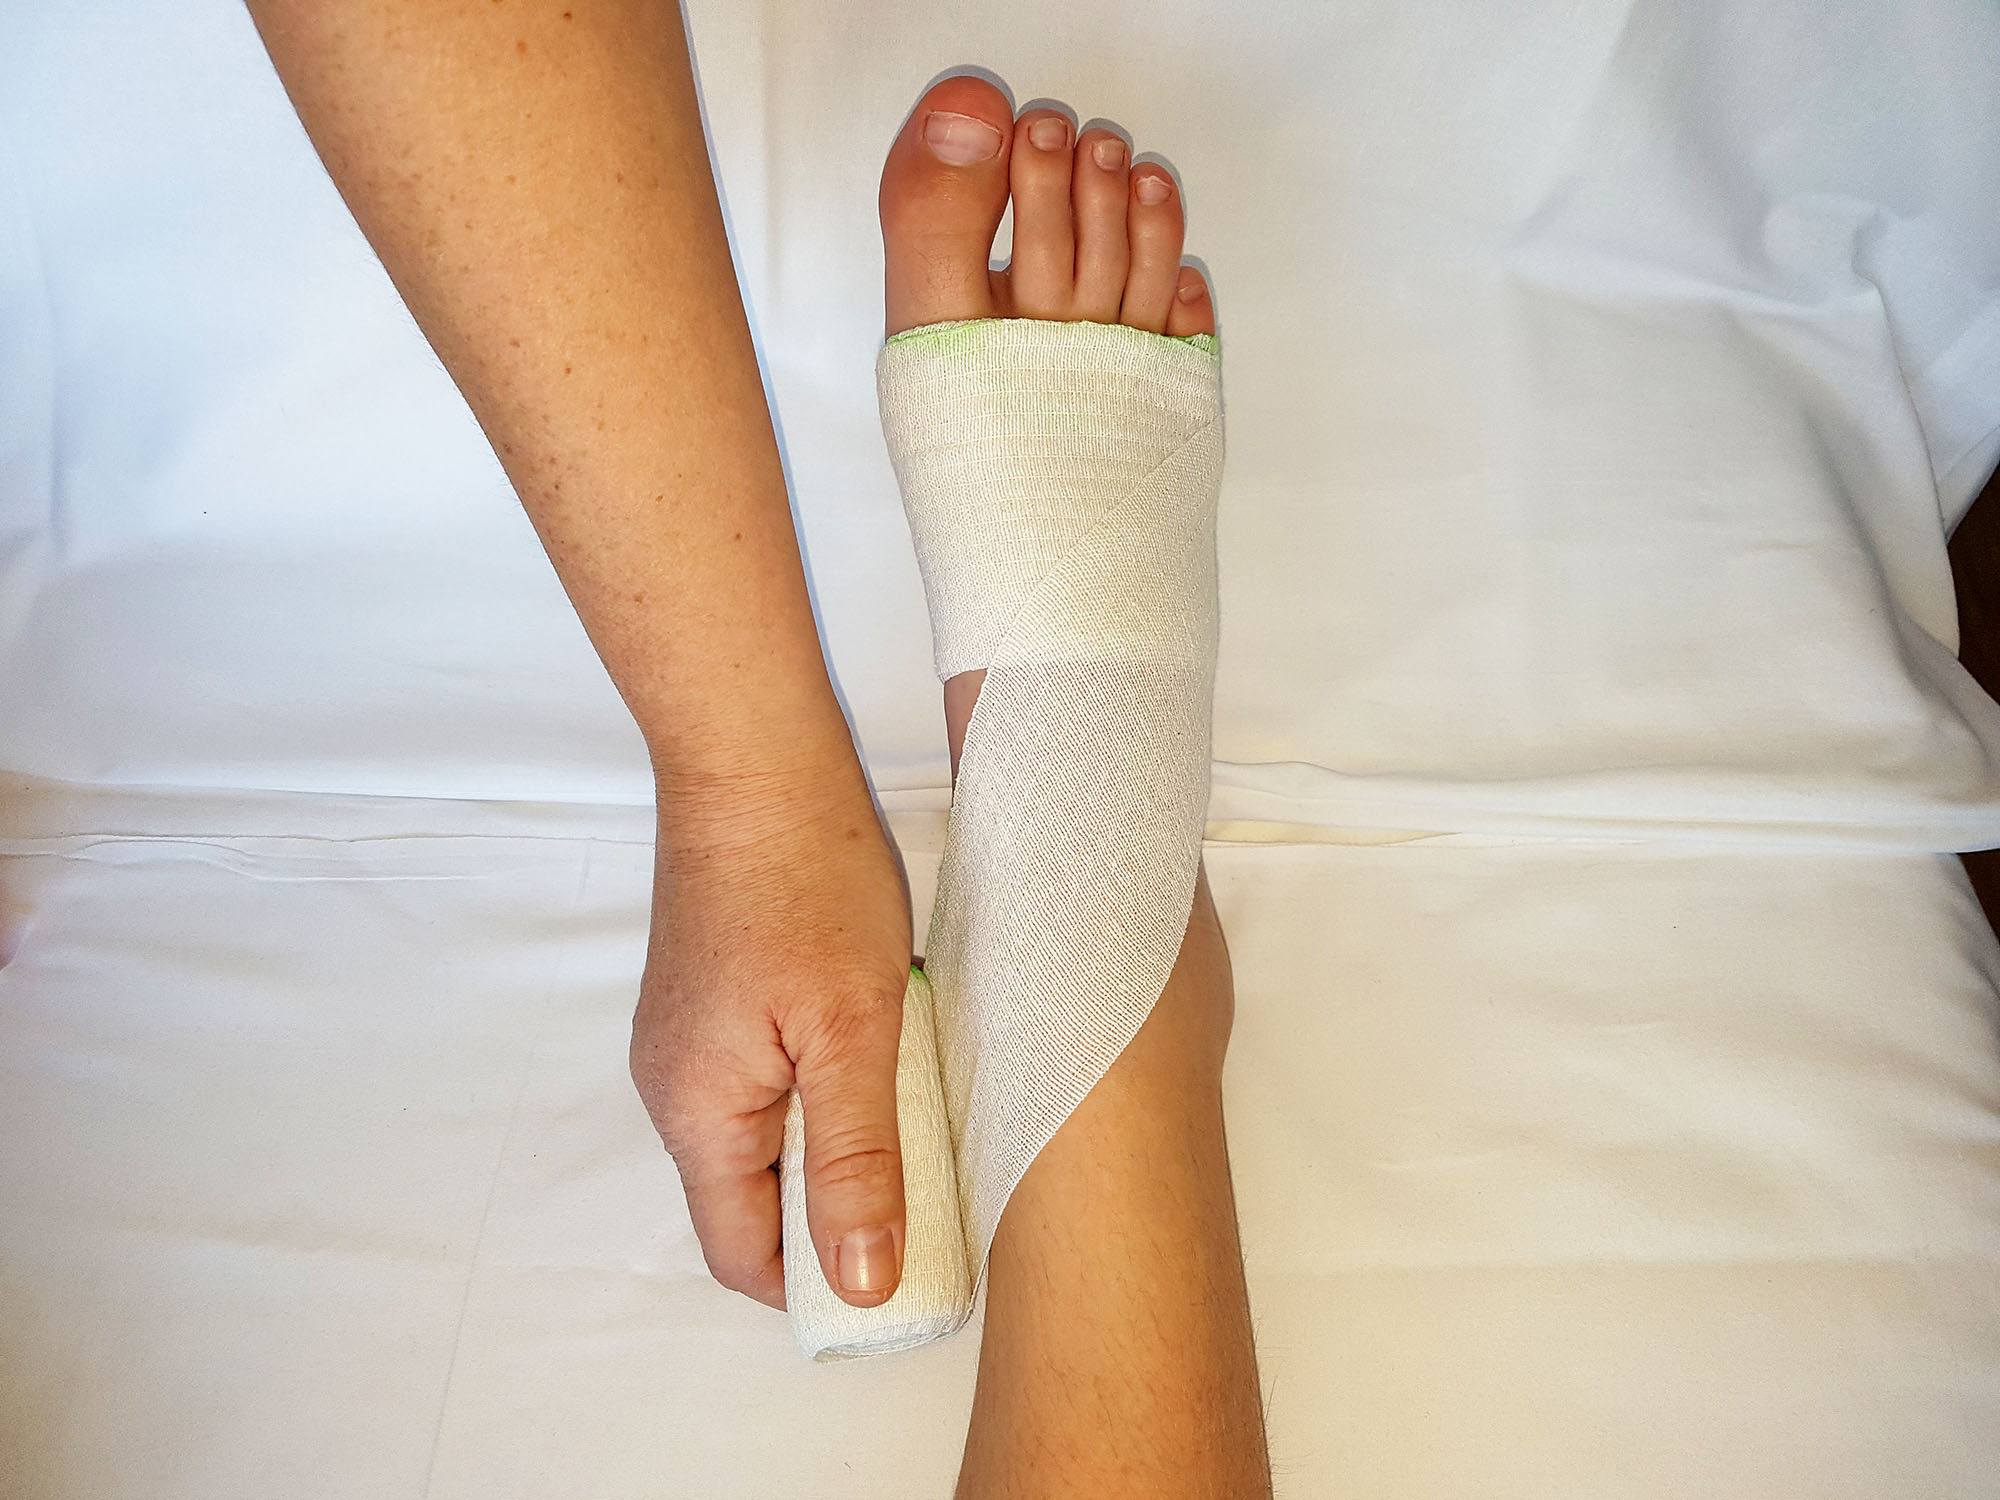
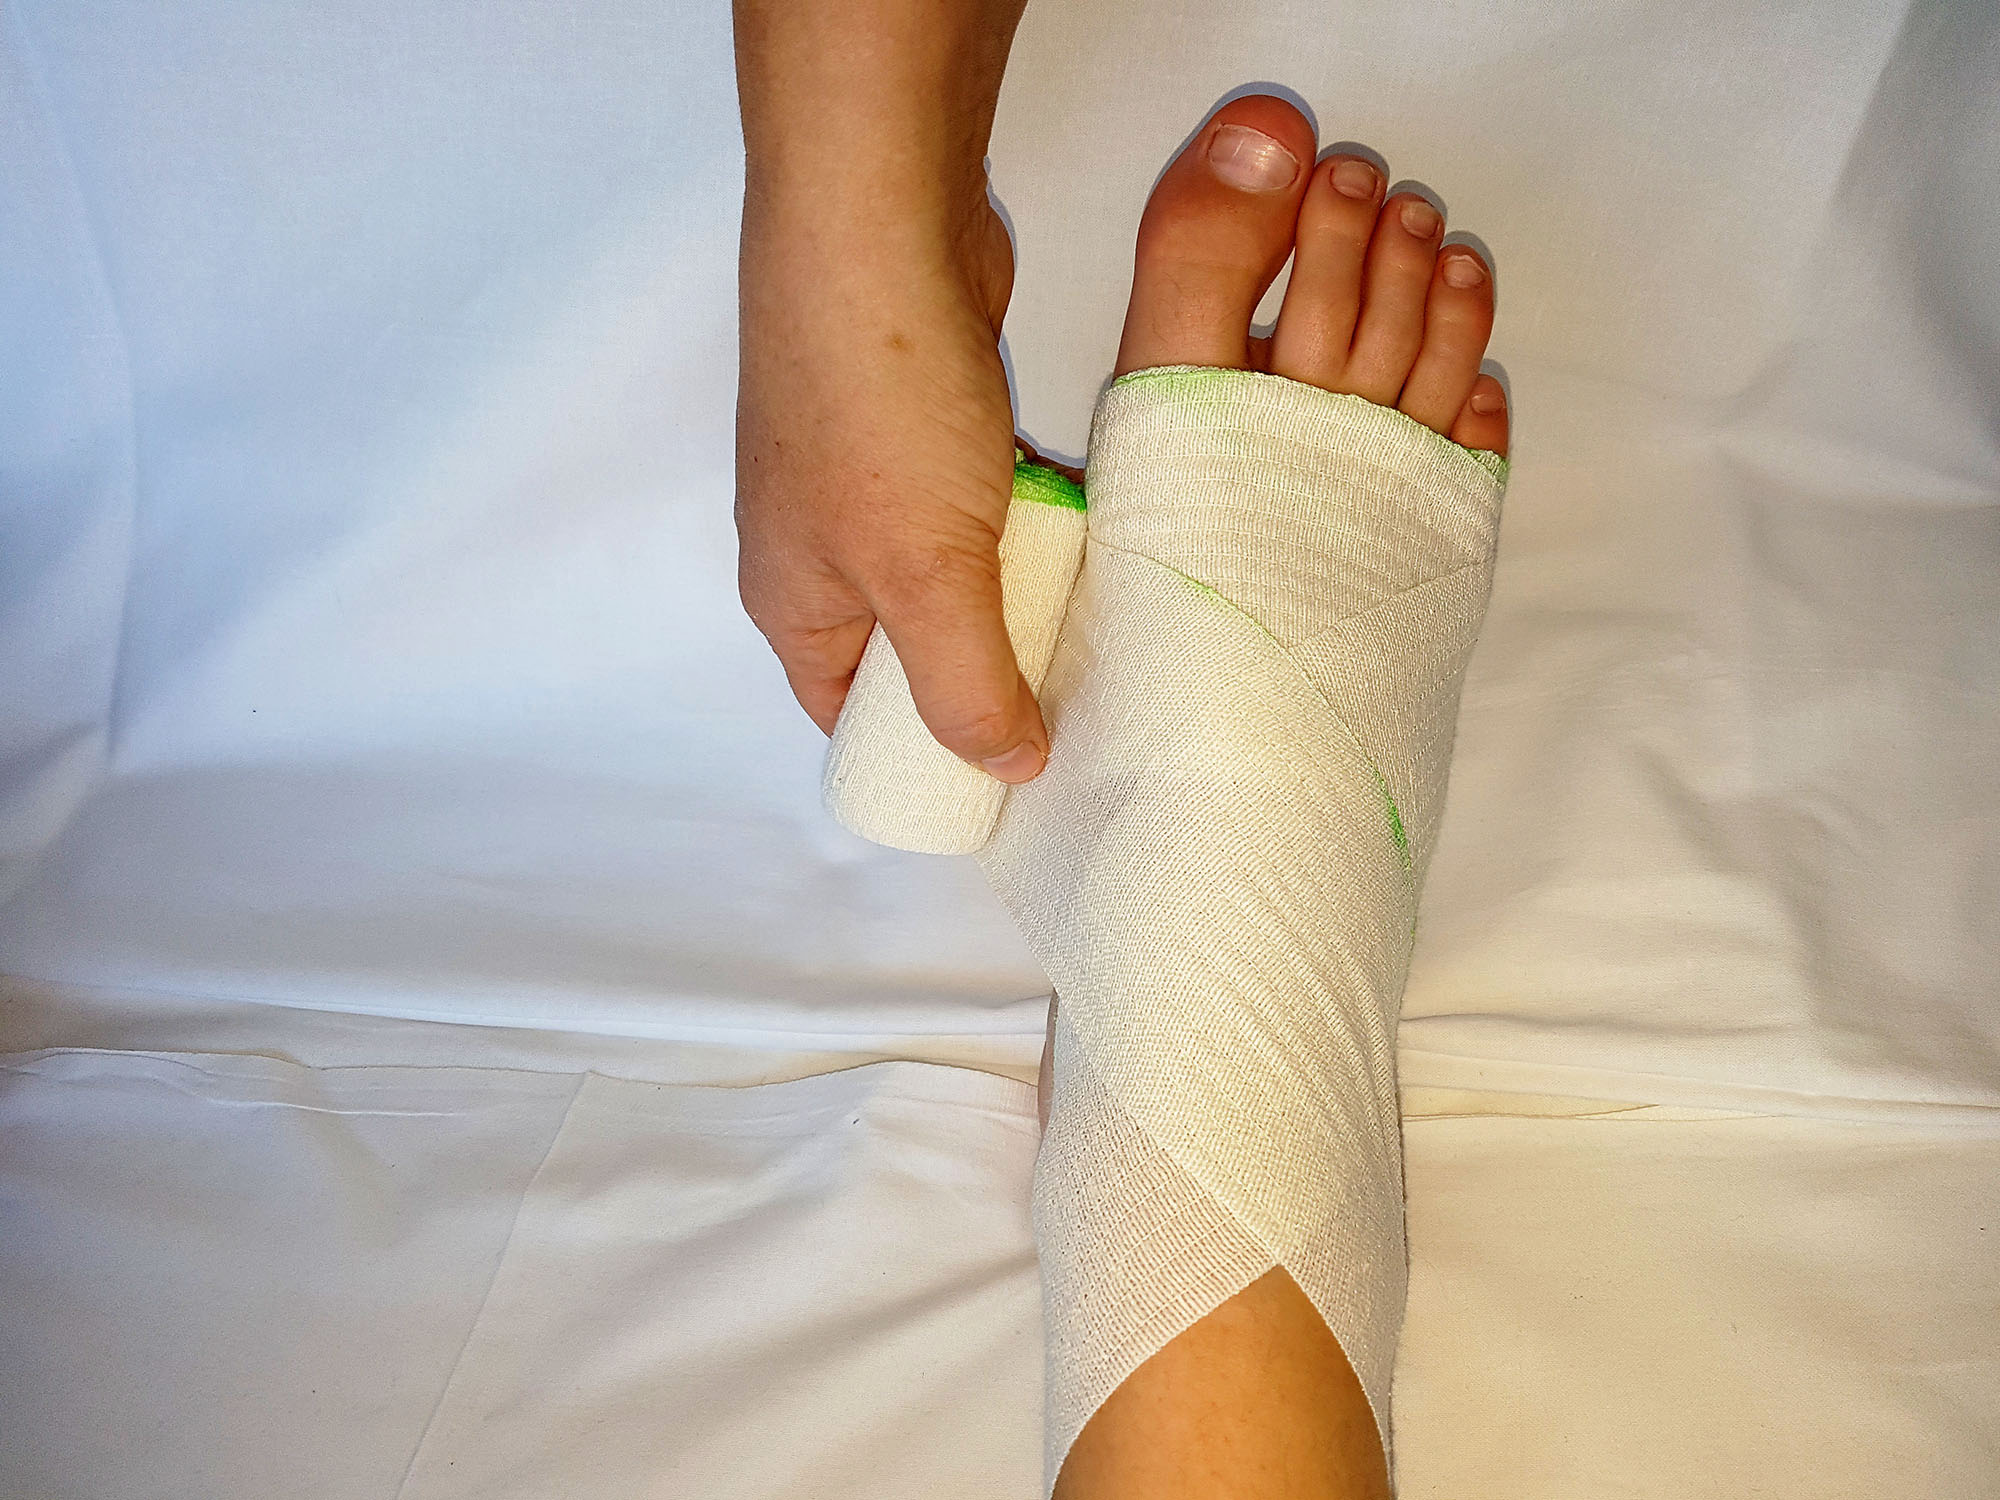
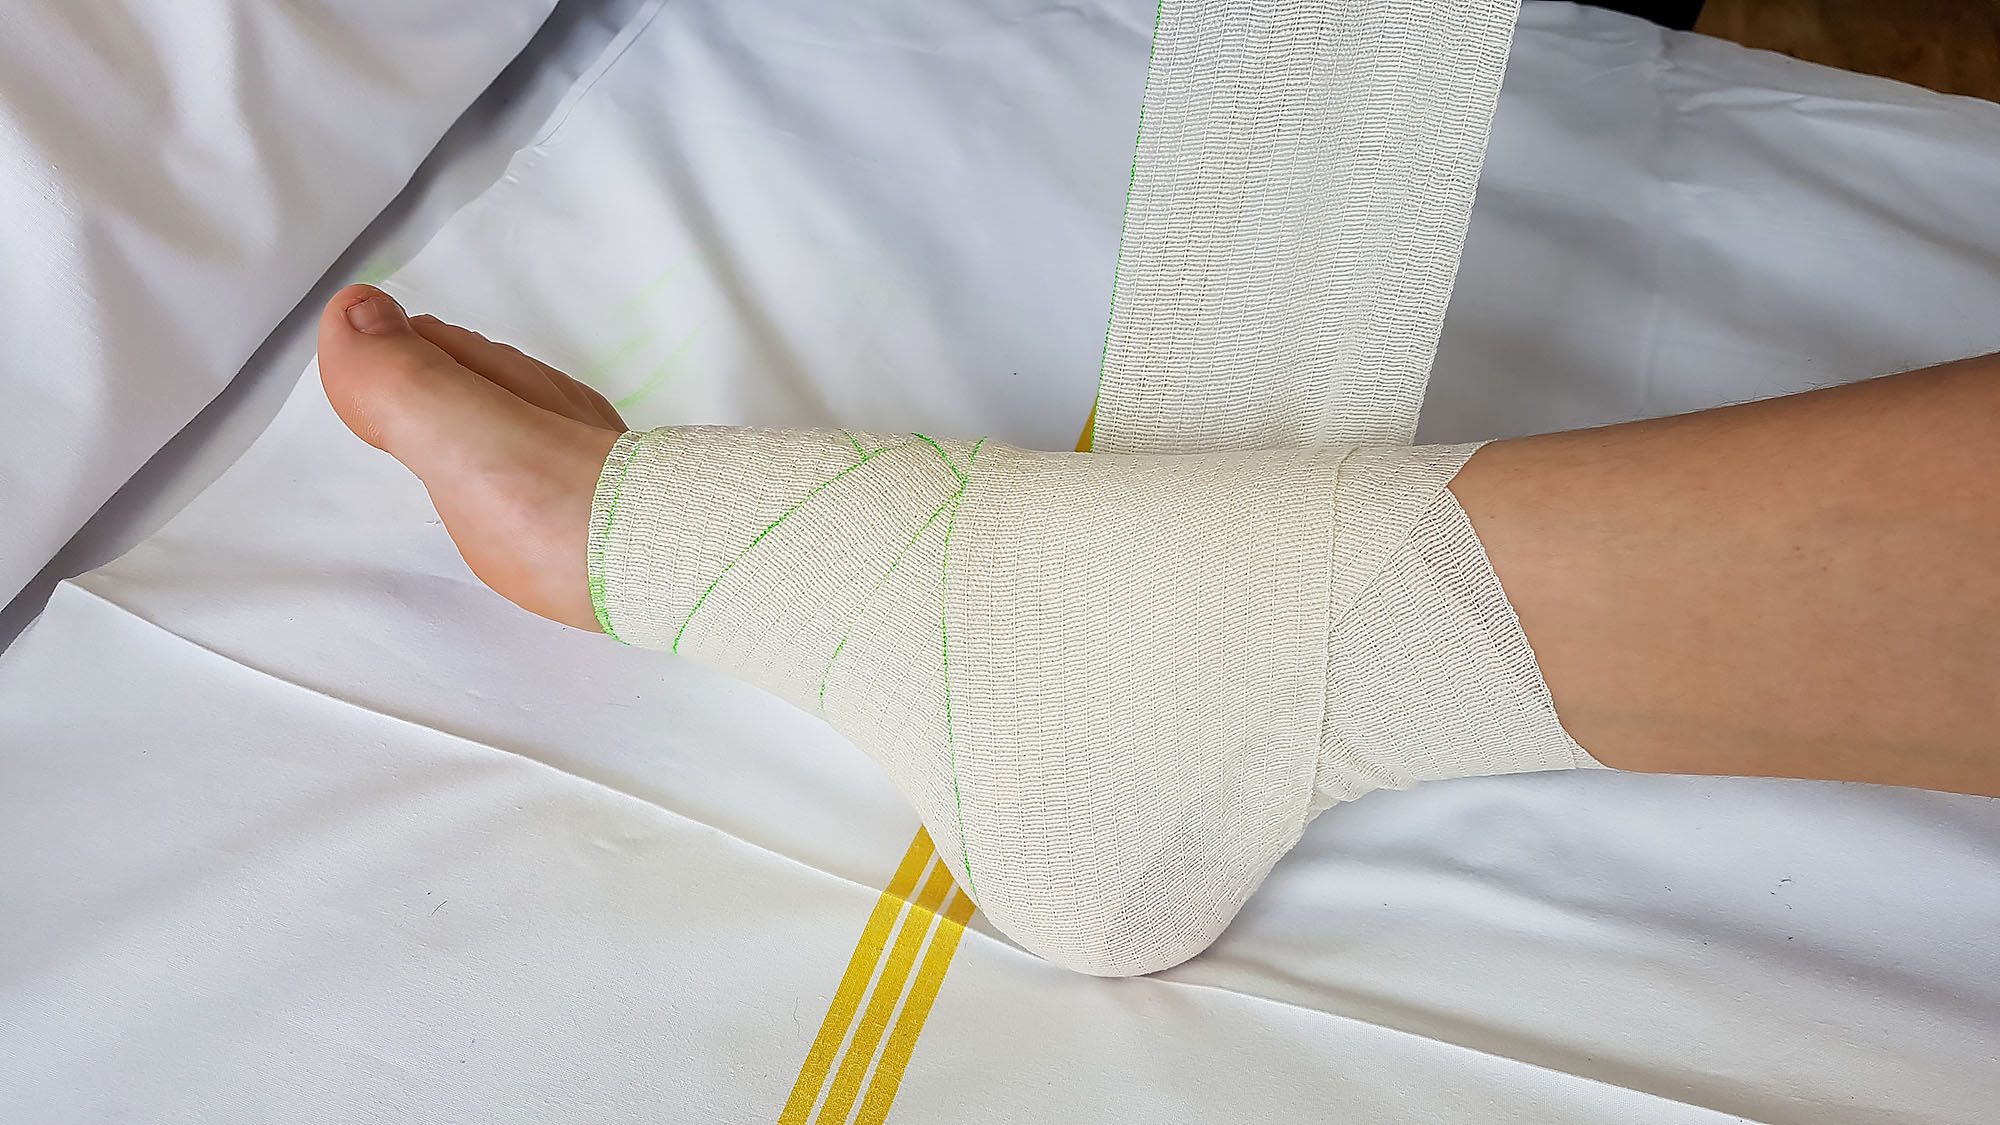
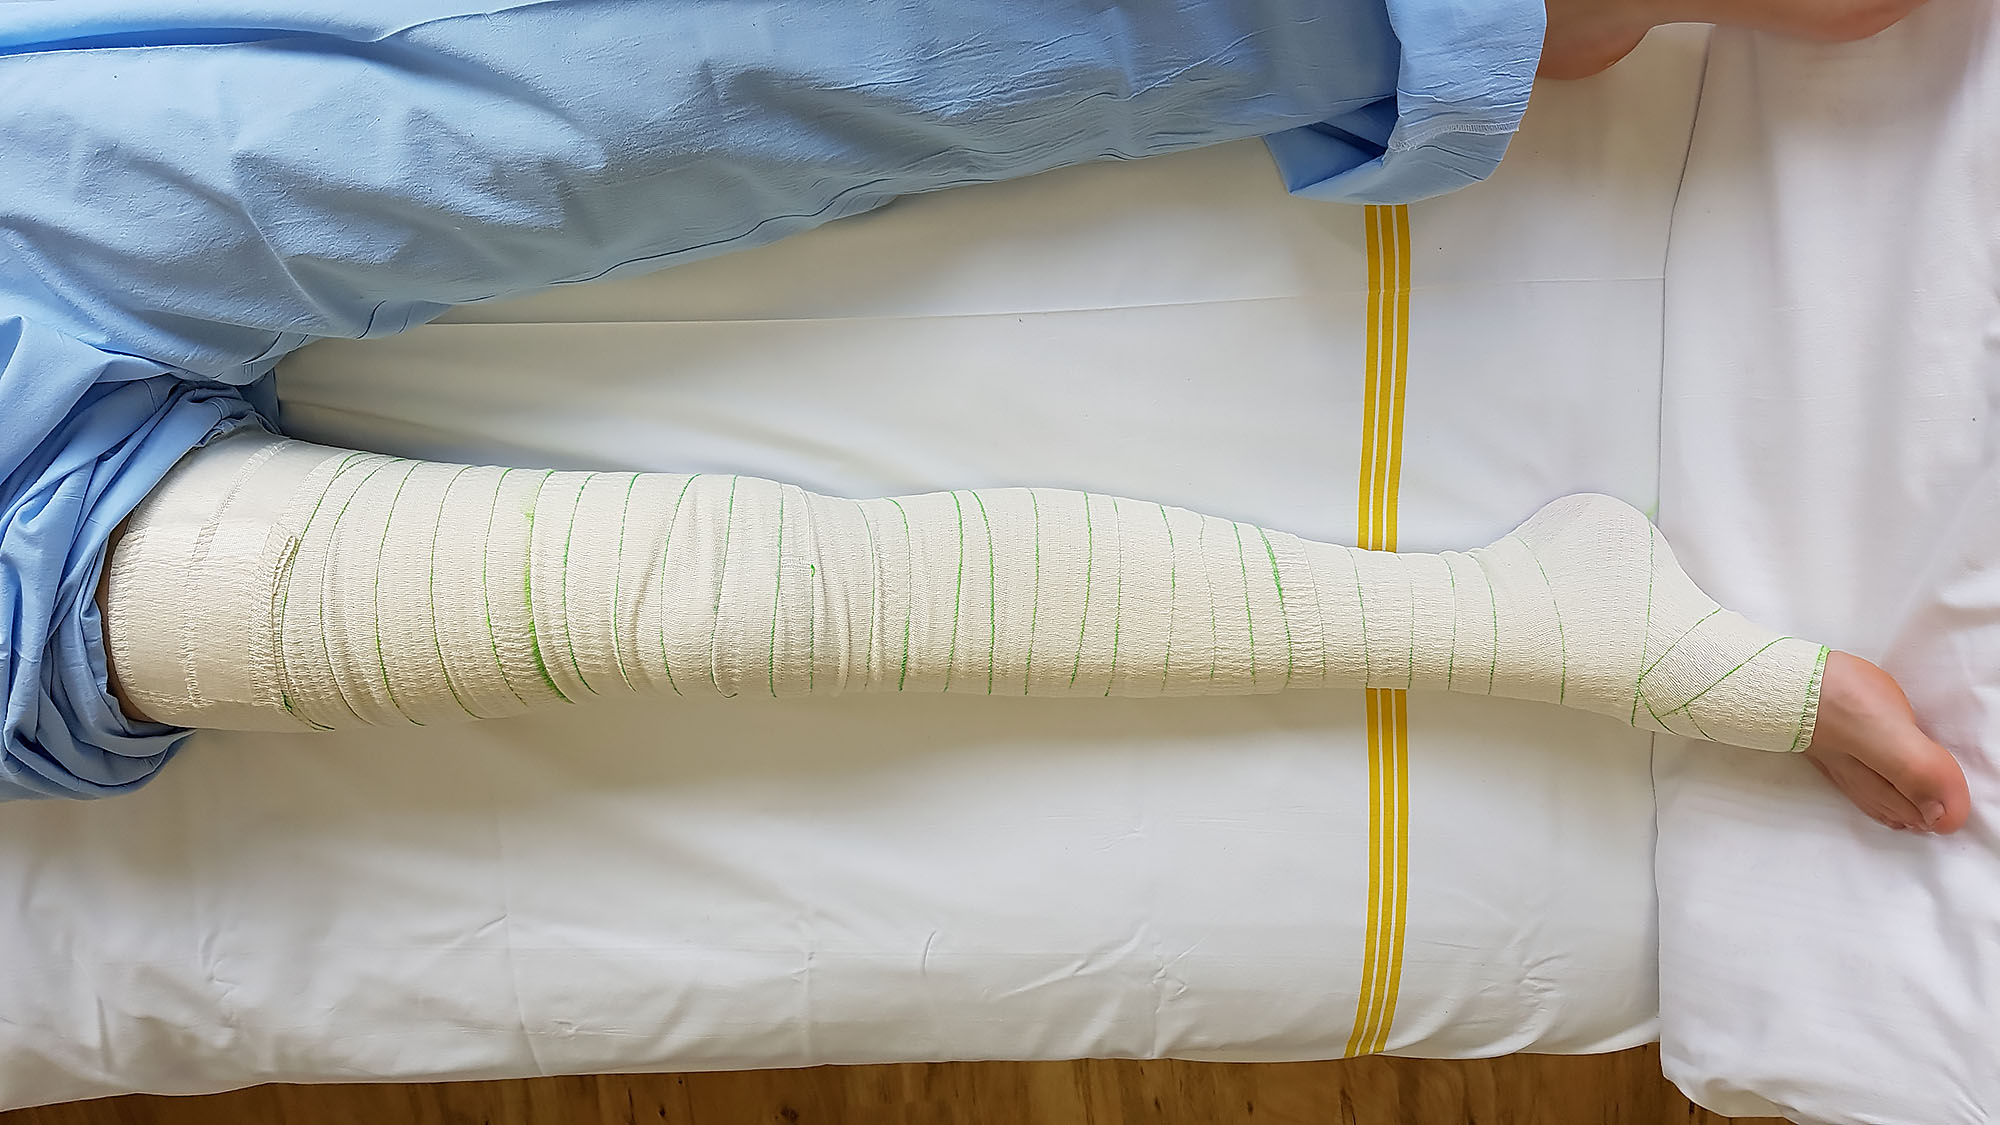
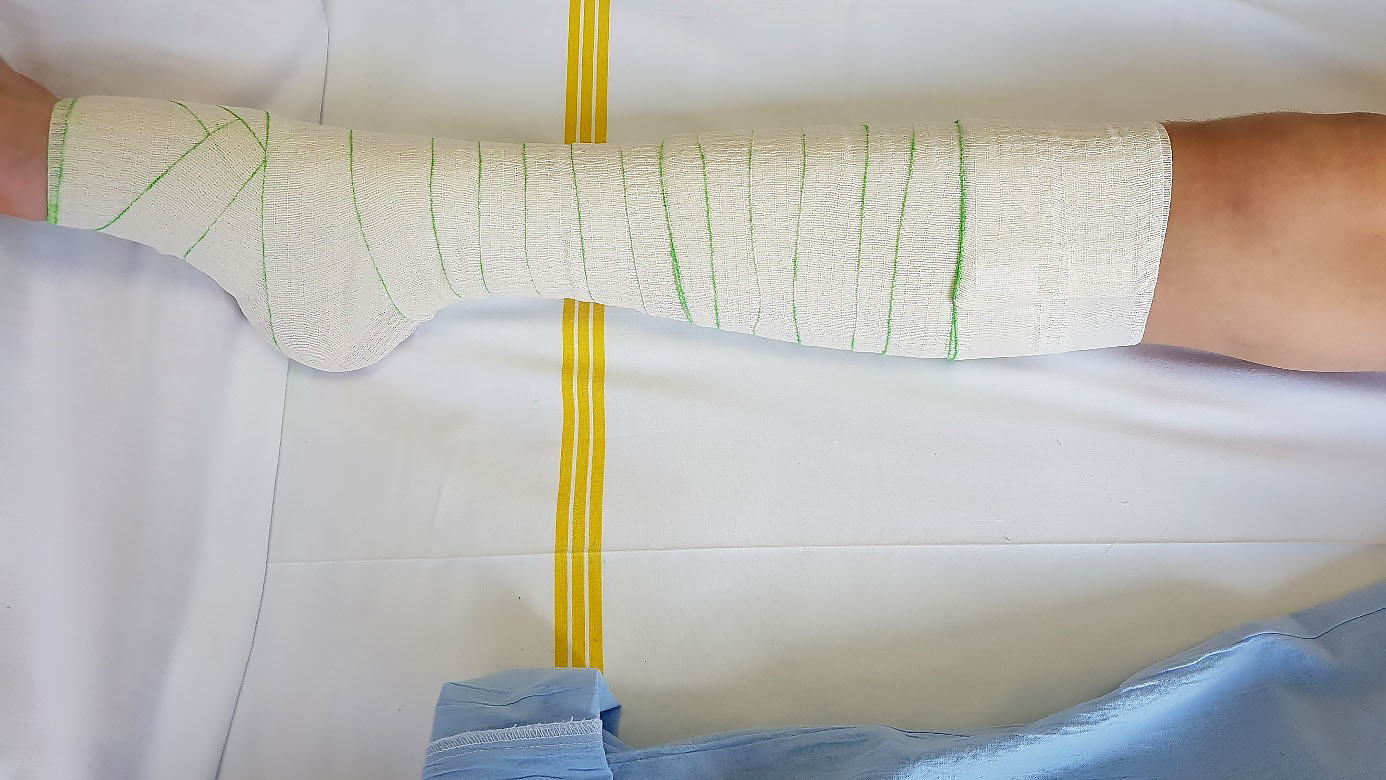
- use the proper technique (apply first on the metatarsal bones, then moving from the heel and ankle to below the knee (for a low bandage) or to the groin (for a high bandage)
- unfold the bandage directly onto the skin, not starting too far from the leg; compress the bandage most strongly at the foot, the ankle, and the lower part of the calf (on the lower limb), or (on the upper limb), at the palm, the wrist, and the forearm. As you move towards the heart, apply less pressure
- make sure you do not create folds in the compression bandage or roll it down
- if overlapping is necessary (when making turns), overlap the bandages by two-thirds
- monitor the patient for pain, tingling, numbness, swelling, blue fingers, cold acral parts, skin irritation
- explain the process to the patient
Short-stretch roller bandage (short-stretch, elasticity 60–90%)
- has a significant compression effect, high working and low resting pressure
- when applied correctly, it may be left in place for three days, including overnight during intensive treatment (cannot be used on extremities with significant swelling)
- use for: lymphatic oedema, venous insufficiency, leg ulcers
- advantages: better healing effect; provides compression all day long; does not unroll
Long-stretch roller bandage (long-stretch, elasticity 100% and higher)
- low working and high resting pressure
- use for: after-treatment of venous diseases and maintenance of wellness, treatment of sprains, short-term bandage in mobile patient
- when walking, the bandages stretch and adapt; they should not be used overnight
- advantages: may be used in both acute and chronic disorders, and in walking patients
- disadvantages: fast loss of tensile strength; it must be repeatedly tied up
Compression stockings
Compression stockings are made using elastic fibres or rubber. These fibres help compress the limb, aiding circulation. Compression stockings are offered at different levels of compression
- low working and high resting pressure (long-stretch)
- use for: maintenance phase in stabilized chronic venous disease requiring compression therapy; varices and swelling during pregnancy; after venous surgery; not to be used when sleeping
- choose size correctly: measure the length and circumferences of the patient's limbs
- choose compressive class correctly: there are four classes, named according to the pressure that the stocking exerts on the ankle area
- 1st compressive class (18–21 mmHg): slight compression (used: to prevent varices formation in genetically predisposed women during pregnancy; to relieve swelling from congestion caused by prolonged standing)
- 2nd compressive class (23–32 mmHg): moderate compression (use for: varices; after varices surgery; chronic venous disease; swelling)
- 3rd compressive class (34–46 mm Hg): strong compression (use for: thrombosis; post-thrombotic syndrome; venous insufficiency with tendency toward swelling; prevention of leg ulcer recurrence after successful healing)
- 4th compressive class (over 60 mm Hg): extra strong compression (use for: significant persistent swelling of the lymphatic origin (lymphedema)


Literature
- Sellner, Švestková S. Kompresivní terapie v praxi. Prakt. Lékáren. 2013; 9(3): 117-119. Accessed June 9, 2018.
- Kompresivní terapie. lecenirany.cz https://www.lecenirany.cz/znalosti-a-informace/kompresivni-terapie/ Accessed June 9, 2018